Wednesday, April 22, 2015

Reading Flipables

Today as I was walking down the hallway on my way back from the copy room, I heard giggles and laughter coming from a third grade classroom. Intrigued, I had to peek in and see what all the commotion was about. I peered in. Did I see indoor recess in the works due to the rainy day that lasted allllll day long? No. How about a silly brain break or quick energizing game? No. Instead, I witnessed students sitting on the carpet completely locked in and engaged on what the teacher was saying. And just WHAT was the teacher talking about you may ask? MATH!! The students were absolutely mesmerized. I couldn't help but listen in too. I was caught up in the higher-level math talk that was happening between the teacher and students, but I was caught up in something else too. The fun! Who says learning can't be FUN and RIGOROUS??

Following this line of thinking, I have been doing lots of work this year around the combination of rigor and making learning fun. We know that in order to achieve mastery of a particular skill, students need repeated practice. And some skills require lots and lots and LOTS of repeated practice such as math facts or vocabulary development for instance. (I still remember as a third grader myself my 7s times tables were the ones that got me, I had to practice those babies probably a ZILLION times!) As teachers, we also know that some students require extra practice in comparison to others to learn certain skills. Thus, I have been looking at ways to provide that practice in ways that are meaningful and fun because in an ideal classroom, both should go hand-in-hand.

One skill that I have recently focused on for my "infusion of fun" if you will is summarizing. Summarizing is a reading comprehension skill that my second graders work on and develop literally all year long. This is a massive skill that quite simply takes hours, days, months, yes YEARS of practice. And so began my journey to find and create resources to make this repeated practice both rigorous and fun. Here are some things I found along my way...

"Follow the Yellow Brick Road", Retelling Rope, Sticky Note SummariesRoll & RetellFive Finger Retell Glove, Summarizing Foldables to name a few. (P.S. If you haven't noticed yet, click on each one to be taken directly to the resource!)

Inspired by all this fun out there, I have made an entire PACK OF FUN devoted to building reading comprehension skills that require repeated practice. The skills I focused on were: describing fictional story elements, supporting a main idea with details, using text evidence to identify character traits, asking and answering questions while reading, summarizing, developing vocabulary, confirming and adjusting predictions, making connections, and text analysis (specifically through the context of literature circles and book reports). I designed flipables for each skill perfect for student usage during whole group instruction, independently during reading workshop, in a small group with other students, or as part of an interactive notebook.

Here is an up-close and personal look at each flipable!

The story elements flipable has students describe and sketch a picture of each key fictional story element (characters, setting, problem, and solution).
The main idea and details flipable does just what it says--students determine the main idea and supporting details.
The character traits flipable has students use text evidence to determine character traits. The last page includes a menu of positive and negative character traits for students to chose from.
The asking and answering questions flipable has students use each key question word (Who, What, Where, When, Why, How) as a stem to formulate a question. Then, while reading, they answer it. To amp up the fun even more, have students complete just the asking portion of their flipable and then exchange with a peer or several to answer each other's questions.
The summarizing flipable walks students through the prompting words (Somebody, Wanted, But, So, Then) with clarifying questions to then write a summary paragraph.
The vocabulary development flipable can be used for any subject beyond reading (science, social studies, math!) to help students build a deep understanding of specific content words. Students write the word, identify the part of speech, write a definition, use the word in a sentence, create a list of synonyms and antonyms, and draw a picture.
The making predictions flipable has students make predictions while reading and then confirm or adjust those predictions as they keep reading.
The making connections flipable has students make text to self, text to text, and text to world connections while they read.
The literature circle flipable guides students through text analysis through the specific jobs of word wonderer, clever connector, literary luminary, amazing artist, and discussion director. The description of the job is written at the top of each page for quick reference.
The book report flipable has students describe the main character (both physically and internally with character traits), identify the setting, write a plot summary, determine the theme, design a book cover, and explore their personal thoughts by writing about their favorite part of the book as well as writing a recommendation.
I can't wait to unfold (no pun intended!) the fun when I introduce these to my students! 
 photo Slide1_zpsig73du7d.png

Saturday, April 4, 2015

Everyday Heroes: An Opinion Writing Unit

"Faster than a speeding bullet! More powerful than a locomotive! Able to leap tall buildings at a single bound! Look! Up in the sky! It's a bird! It's a plane! It's Superman!" Launching spider webs from your fingertips to scale a skyscraper in seconds, diving through the clouds to rescue a damsel in distress, or fighting crime under the disguise of night is just a normal day in the life of a superhero from the comic books. But you do not need to have SUPERhuman strength, SUPERnatural abilities, or even a fancy SUPERhero costume to be a hero. In fact, a hero can look a lot like someone you know very well, maybe even a person you see everyday. Moms, dads, grandmas, grandpas, doctors, firefighters, veterinarians, teachers, and police officers are some of our everyday heroes just to name a few. Ultimately, being a hero is less about what you look like on the outside and more about the heroic choices you make and quality of character you have. My most recent opinion writing unit is designed to have students explore just that.
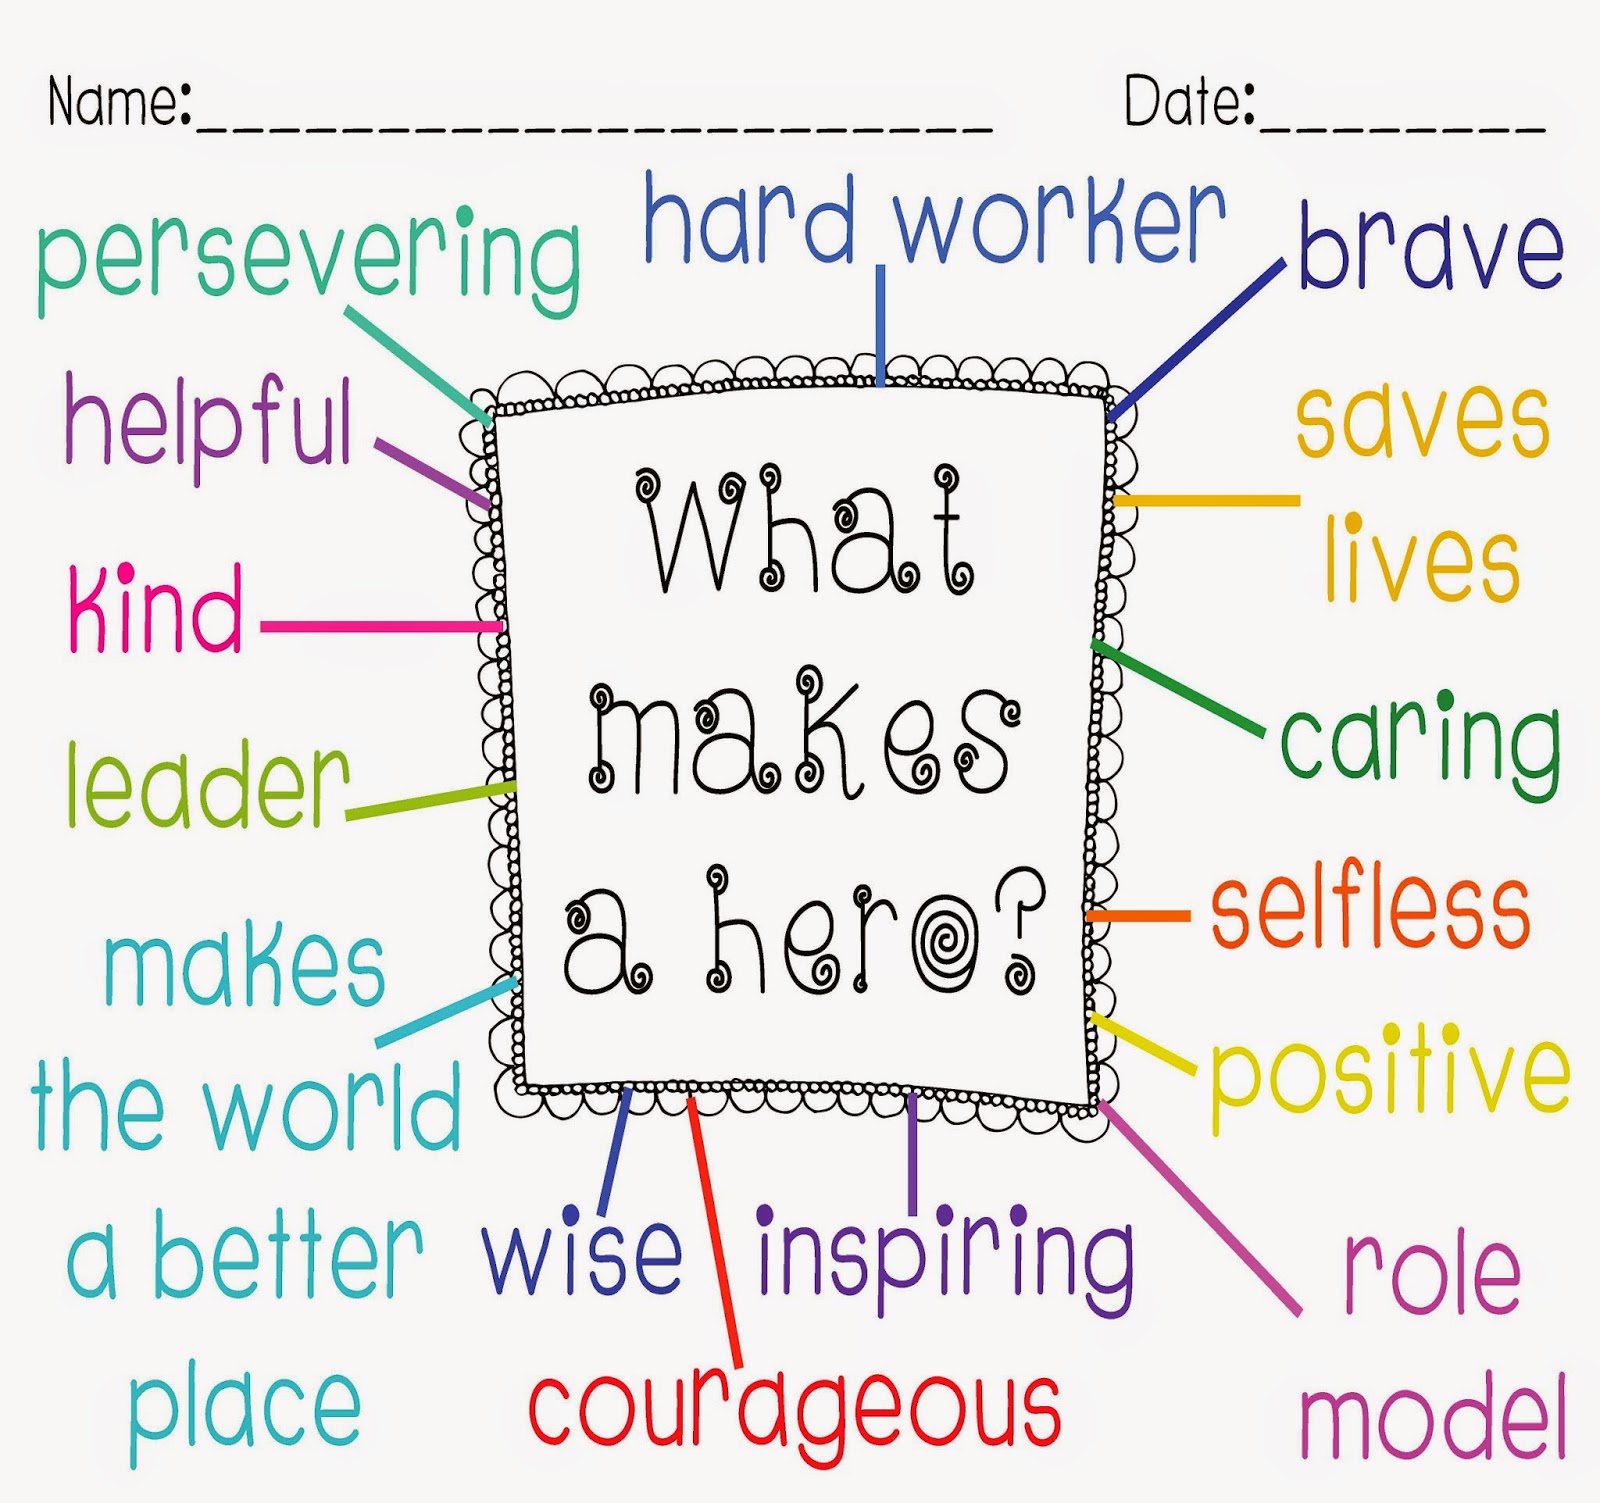
This writing unit can be steered in a number of different ways. You may choose to have students write about a specific person they know if their life (such as their mom, sibling, grandfather), a famous person or hero from history (such as Martin Luther King Jr., Mother Teresa, Cesar Chavez), or an everyday hero based on job (surgeon, soldier, coach). Depending on the direction you want your students to take, you may even have them gather research should you want them to write about a historical hero. Once you have the direction you want to take narrowed down, it's time to get students brainstorming about what defines a hero.

Then, comes the fun part! I am SO EXCITED about this opinion writing graphic organizer! It is a foldable made to look like a cootie catcher (remember playing with those back in the day??). This OREO (O-Opinion, R-Reasons, E-Evidence, O-Opinion Restated) foldable comes with this everyday heroes unit but can be used with ANY OPINION WRITING UNIT!
How it works is that students write their topic and opinion on the front of the foldable. Then, each flap lifts up for students to write a reason with detailed evidence to support their opinion. FUN and RIGOROUS, the best combination, am I right?!

Students use the OREO graphic organizer to write their rough draft. Once drafts are written, there is a series of checklists for students to use during the revising and editing process. This pack comes with rubrics too to grade final copy papers and provide specific feedback!
There are two anchor paper included in this pack as well to use as your own while you model each step of the writing process. One is designed with lower grades in mind, the other is a multi-paragraph paper with upper grades in mind. You can refer to these anchor papers as examples of what a quality piece of opinion writing looks.
To access this unit at my store on TPT, click on the picture below!
To be a hero, you don't need to shoot sticky webs to climb buildings like Spiderman. You don't need to be able to fly through the sky as fast as a rocket like Superman. And you don't need to conceal your identity with a mask while stopping villains in their tracks like Batman. (Although admittedly, all of those things would be pretty cool) All you need is SUPER quality of character like having incredible heart, determination, and selflessness. Take a close look. You too just might have a SUPER hero living under your very own roof!
 photo Slide1_zpsig73du7d.png

Tuesday, February 24, 2015

Teachers are Heroes Sale!

What's your super power??? TPT tomorrow is holding a jumbo sale to celebrate teachers and their daily acts of heroism! Everything at my store will be 20% off, and if you type in the promo code HEROES, save 28%. If there is anything on your wish list, tomorrow is the day to go for it!

Click on the picture below to go to TPT!

 photo Slide1_zpsig73du7d.png

Sunday, February 8, 2015

My Animal Research Project

Sometimes as a teacher, it can be overwhelming to plan a research-based writing project. We know that gathering research, taking notes, and then organizing those notes in categories are skills that need to be explicitly taught to our students on top of the writing process, but how??? Well, I am soooo excited to show you THE RESEARCH NOTEBOOK! You are going to LOVE it! This little pocket notebook will teach your students how to gather research in an organized way! When I used the research notebook to teach an animal research-based writing project to my third graders, it became my favorite writing unit that I taught all year!  I was astounded at the high-level writing my students produced at the end. Check out the research notebook in use in the picture below!
So here's how it works! Basically, you create pockets out of paper that fit the size of an index card perfectly, and each pocket has a specific topic that students should focus on as they delve into their research. For my animal research project, I broke the research notebook into 6 different categories: Habitat, Food & Diet, Physical Features, Life Cycle, Fun Facts, and Sources. These categories seemed to give a "lens" each day for students to view their informational text through, and this focus allowed them to read with a purpose of locating specific information. 

I finally was able to take some time to put this research notebook as well as many other resources together in an informative writing unit for others to use.
In this writing unit, there are detailed day to day lesson plans, student printables, anchor papers for you to use as the teacher, and rubrics. Here is how the unit is broken down:

FIRST, you follow the lesson plans for the research portion of the project and print out those necessary materials.
SECOND, you choose beforehand whether you will have your students write a multi-paragraph research paper OR a nonfiction book. You then use the corresponding lesson plans and print out those necessary materials based on your selection.
THIRD, you can grade your students writing project using the rubrics provided. There are also generic rubrics included so that you can use this pack to teach research-based writing and create a paper or book on ANY TOPIC you desire in the future!
This versatility is found in the research notebook and nonfiction book template as well. You can use the template to build a nonfiction book about any subject!!
This is what the nonfiction book looks like when it is finished!
Here is a look at all 12 pages included.
To access this product at my TPT store, click on the picture below!
 photo Slide1_zpsig73du7d.png

Friday, January 2, 2015

Vintage Jewelry DIY Magnets

Happy 2015! How did you ring in the new year? Recently, I have been spending my days doing things I love outside of teaching like reading, crafting, cooking, and spending lots of time with the fam while on my winter break from school. Which leads me to my post today. While this is not strictly a "teaching" blog post, I would argue that it is in fact very educational. :) Like my fellow teachers, I do indeed have a whole life outside of my four classroom walls, so I thought it only appropriate that while on break from school, I blog about what I have been up to.

An avid antique collector, I just love that whole vintage feel. Ever since I stalked repeatedly visited a tutorial on Pinterest, I have been wanting to make magnets out of old jewelry. With a little hot glue and creativity, check out my refrigerator's new digs.


If you are interested in making your own, it's super simple! Follow these four easy steps.

1) Gather vintage jewelry and supplies listed below:

  • Vintage jewelry (bought or found)--broken parts and pieces are perfect!
  • A pair of wire cutters or needle-nosed pliers
  • Hot glue gun & glue
  • Magnets


Since you are turning this vintage jewelry into magnets, you probably don't want to use anything too expensive or of sentimental importance/value. I actually went to a large warehouse and bought antique jewelry anywhere from 50 cents for a mixed batch to a few bucks per piece. And get excited, BROKEN JEWELRY works the best! Often times at antique booths, you can buy baggies of it on the cheap. Clip-on earrings, focals (such as pendants off of necklaces), pins, lockets, really any piece or part will do.


Once you have your supplies, you are ready for step #2.

2) Prepare vintage jewelry for becoming a magnet. This is where you can get crazy crafty or keep it real simple depending on your desire to be artsy. On a scale of 1-10 with 1 being, "I would rather scour the bathroom floor at the mere mention of glitter," and a 10 being, "I could bedazzle each and every wall of Buckingham Palace ALL DAY!" I was at a solid 7 this particular afternoon. But no worries, I have given multiple examples at varying level of difficulty for you to follow that will hopefully give you some relief OR inspiration for wherever you fall on "The Official Scale of Desire to Do Arts and Crafts."

If you want to keep it easy-peasy, find a piece of jewelry that requires absolutely no prep. Then, all you have to do is hot glue a magnet to the back. For example, check out this beautiful broken mini mosiac pin I found. The pin was already broken off of the back, so it was inexpensive and needed no preparation. Some hot glue and a magnet later, and voila! Now this beauty decorates my fridge.


Clip-on vintage earrings are another simple magnet to assemble. Usually, you need to just pry the clip-on backing off of it and glue a magnet in its place. Here is a cool pair I found at the warehouse. I used wire cutters to clip off the dangling pieces, remove the backing, and then glued those clipped-off pieces in the center to fill it out a bit more.


Combining bits and pieces can get really fun. Here is a broken pin, bracelet, and pendant I reorganized. I turned the pin upside-down and used its back as the front. Then, I cut the flowers off of the bracelet to glue on the pin's points and put the broken pendant in the center. Now, it's a work of art!


Here's another example of some parts and pieces that I glued together to make finished pieces. The image on the left is a turquoise pendant that has a broken jewelry part glued to its center. The middle image is a broken earring (the green circular piece) with a clump of pearls (I don't know from what piece of original jewelry this came from) stuck in the middle. The right image is a heart locket glued inside of a picture frame locket. See what I mean about broken jewelry being amazing?!


Lastly, when it comes to preparing your vintage jewelry to become magnets, think outside of the box! Here is an old medal that came in a bag of jewelry I bought. I didn't even know what it was at first. Then, I read the inscription. "2nd Place Calculus Team 1990." Who says 2nd place isn't great? I glued a vintage button to the medal's flat side, cut the loop off of its top, and now so it sits on my fridge as pictured on the right.


The preparation of the jewelry is the time-consuming part. Once you have all of your creations planned, steps 3 and 4 are quick.

3) Use a hot glue gun to adhere magnets to the back of your jewelry. I recommend buying individual ceramic magnets vs. the flexible roll that you cut your own from. You need a firm magnet that is strong. I bought varying sizes at a Michael's craft store.

4) Place your magnets on a magnetic surface, and enjoy! I am personally benefiting from step 4 right now as I FINALLY hung up my stack of Christmas cards that had been sitting in a sloppy pile.


The Christmas cards now look great and so do the magnets!

 photo Katie120_zps8b8e103b.jpg

Sunday, November 30, 2014

CYBER Monday Sale!

Hope everyone had a wonderful Thanksgiving and spent time with loved ones! We are getting our Christmas tree today and officially putting up decorations--I love this time of year!

Tomorrow, December 1st, is back to school for me and Cyber Monday across the nation. So if you have any items you have had on your wish list for while, tomorrow (or Tuesday too) is the day to buy them and get the biggest savings possible. Use any computer or mobile device to log onto TPT and save 28% by checking out with the code TPTCYBER. Click on the picture below to be taken to TPT.


 photo Katie120_zps8b8e103b.jpg

Saturday, November 8, 2014

Magic Tree House Books #1-10 Study Guides MEGA Value Pack

It's official--I have read all of Mary Pope Osborne's Magic Tree House Books #1-10 and completed the accompanying study guides! I can see why students of all ages can't put these books down!

Each study guide sells for $2.50 in my TPT store, but today, I bundled them all together as one giant pack for 35% off. To purchase this MEGA value pack, click on the picture below.


Happy reading!

 photo Katie120_zps8b8e103b.jpg